
How to make your own pillow insert
An easy way to learn how to sew is by sewing small and easy projects. A pillow insert is just that, a simple project anyone can do. This DIY pillow insert sewing project is for all ages, in fact, the first ever sewing project I completed as a child was a little pillow! Making pillow inserts is also a fantastic way to get rid of all those pesky fabric scraps you might have laying around.
Everyone loves having throw pillows around their home, whether in the bedroom or on the couch. Creating these pillows means more to me than purchasing a pillow, especially when those pillows can be pretty pricy.
Sewing or any hobby involving you to focus can help you slow down. Check out my What is Slow Living blog post to learn more about slow living.
Some links in this post contain affiliate links. This means I get a commission if you purchase the product through my link at no extra cost to you. As an Amazon Associate, I earn from qualifying purchases.
Diy Pillow Insert Instructions
Creating your own pillow insert throw and covers is a great way to make affordable home decor or even gifts for family and friends. The best part is that you’re able to customize the pillow to your wants instead of going shopping at a big box store and trying to find exactly what you want.
Creating your own home pieces means you get to create the different sizes you want and the designs you want. The place where I always look for inspiration for handmade decor is Pottery Barn.
Remember to wash your fabric BEFORE you sew so that we won’t have any crazy shrinkage which is possible.
The best ways to get better at sewing are by making small projects and just practicing.
Supplies you’ll need
- A large piece of fabric, preferably 1 yard of the fabric of your choice
- sewing machine
- scissors or rotary cutter
- measuring tape
- pins or clips
- thread
If you have a cutting mat like myself, you most likely won’t need a measuring tape.
Choosing your fabric
Truthfully, you could use any fabric you have on hand. For myself, I had some extra cotton fabric laying around, so I chose that. Just remember, we are making an insert. It doesn’t technically matter if there is a fabric design on the insert as the insert will be placed in a cover in the future.
However, I prefer to use a lighter colour for my inserts. That way if I have a light coloured cover on the insert, I wouldn’t be able to see the colour or design of the pillow insert.
If you aren’t interested in making a pillow cover in the future, that’s fine too. You can easily just make the pillow insert as a throw (decorative) pillow instead.
Don’t forget, you don’t necessarily have to run out and buy fabric. If you have an old bed sheet or fabric tablecloth, you can repurpose that for this project. OR you could even go thrifting and thrift some fabric.
Fabric recommendations
Muslin Cotton fabrics
Drop cloth
The pillow insert filling
Like earlier stated, this is a great way to use up fabric scraps. Filling the pillow with too much fabric scrap can make the pillow heavy, uneven, and possibly uncomfortable to lay on.
It’s completely up to you how full you want your pillow to be.
A great filling for anything is scrap fabric, especially if you don’t have any poly-fil on you. Throw pillows are made for decoration, not for comfort.
Personally, I don’t necessarily use these pillows as bed pillows that I sleep on, but rather a throw pillow. With the added fabric scrap, sometimes it can be uncomfortable to lay on.
Filling for pillow
Diy Pillow Insert
Alright, it’s time to get to cutting and sewing! Just follow these simple steps and you’ll have mastered the DIY Pillow insert.

- Start by cutting two pieces of fabric. The length measurement is going to be 22″ and the width measurement is 14″ for the rectangle insert pillow and for the square insert pillow, it’ll be both 18″ in length and width. You could customize this though for whatever size you’d like your pillow insert to be.
- Place the fabrics right side facing each other (The right sides are the pretty side of the fabric). Pin or clip the fabric together, leaving a 4″ gap that you aren’t going to sew shut.
- Bring your project over to your machine, and sew a straight line with approximately 1″ of a seam allowance. Don’t forget to leave a 4″ opening!
- Once you’re done sewing, don’t flip it yet. Cut the corners of the pillow on a diagonal. Trim the raw edge.
- Flip the pillow insert right side out and push out the corners while fixing the seam.
- Start filling in your pillow. Use poly-fil and scraps, just poly-fil or just fabric scraps, it’s all up to you. As your filling the pillow, make sure you are pressing the pillow down so that your pushing the filling down the pillow. Personally, I like having the poly-fil more in the middle of the pillow.
- Once your pillow is filled to where you’d like it, push the filling away from the opening and pin or clip the opening shut. Sew the opening together.
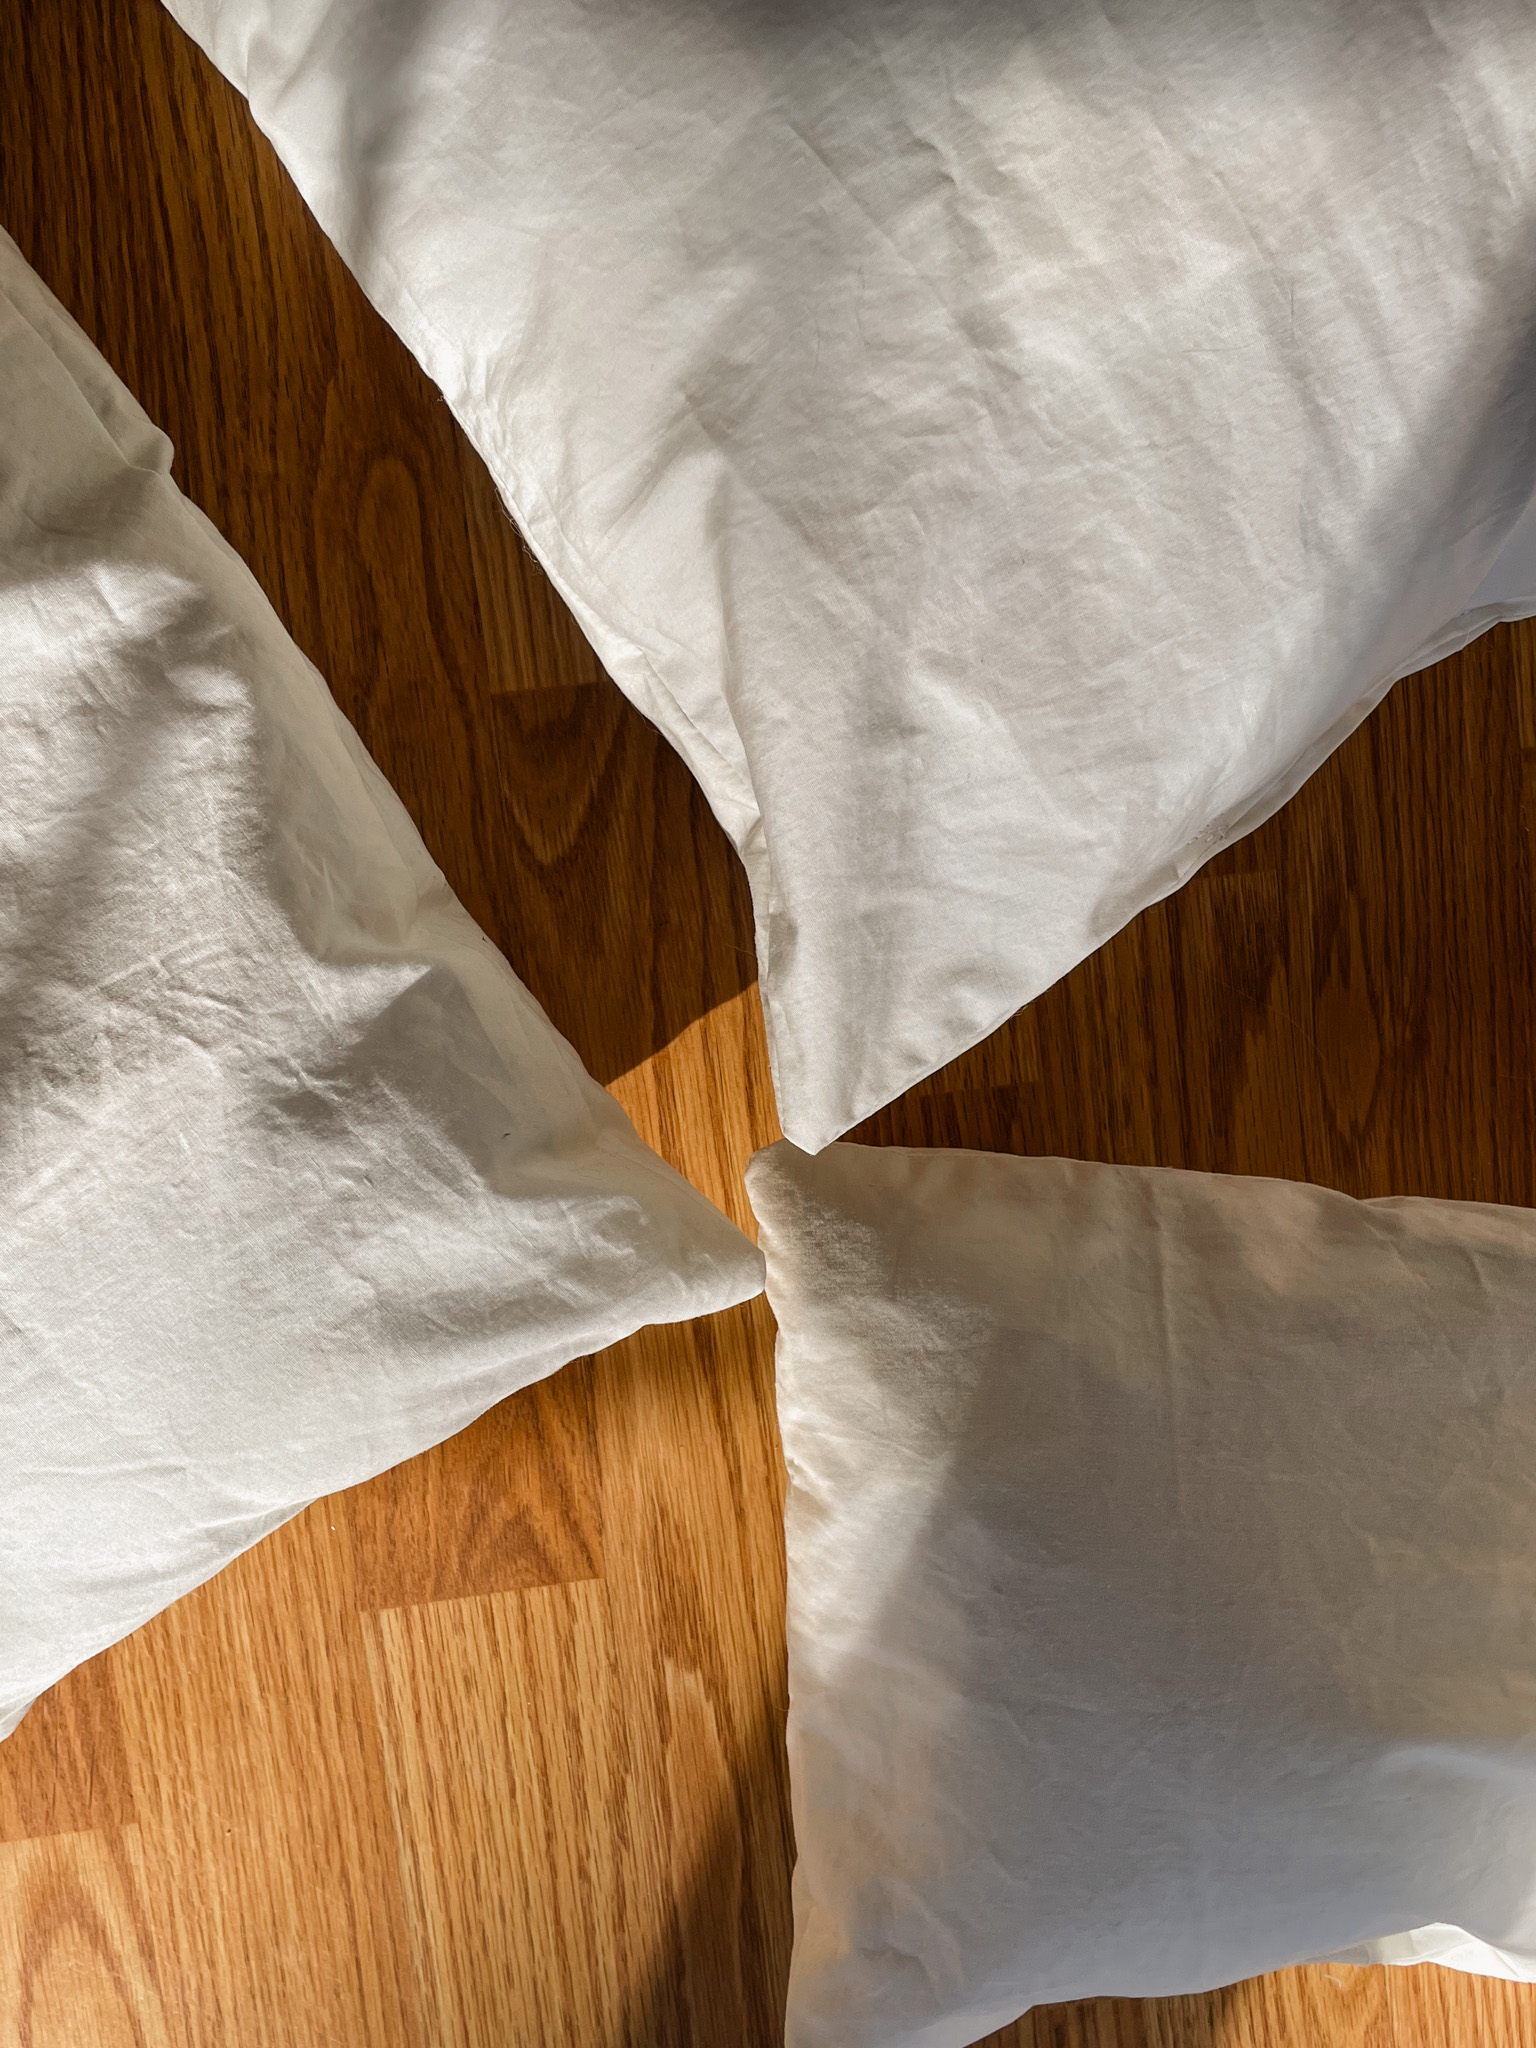
- Fluff out the pillow and you’re done!
And just like that, you are finished completing this easy and simple DIY. These pillows can be an added piece to your living room, bedroom, or patio, or even a gift to a loved one or friend.
I’ve made decorative pillows for everyone’s bed in the home, chairs like our rocking chair to rock the kids in, and the living room.

Easy Diy: How to make your own pillow insert
Materials
- Fabric
- Thread
- Poly-fil or scrap fabric
Tools
- Sewing machine
- Scissors
- Pins or clips
- Measuring tape
Instructions
1. Cut two pieces of fabric. The length measurement is going to be 22" and the width measurement is 14" for the rectangle insert pillow and for the square insert pillow, it'll be both 18" in length and width.
2. Place the fabrics right side facing each other (The right sides are the pretty side of the fabric). Pin or clip the fabric together, leaving a 4" gap that you aren't going to sew shut.
3. Bring your project over to your machine, and sew a straight line with approximately 1" of a seam allowance. Don't forget to leave a 4" opening!
4. Once you're done sewing, don't flip it yet. Cut the corners of the pillow on a diagonal. Trim the raw edge.
5. Flip the pillow insert right side out and push out the corners while fixing the seam.
6. Start filling in your pillow. Use poly-fil and scraps, just poly-fil or just fabric scraps, it's all up to you. As your filling the pillow, make sure you are pressing the pillow down so that your pushing the filling down the pillow.
7. Once your pillow is filled to where you'd like it, push the filling away from the opening and pin or clip the opening shut. Sew the opening together.
8. Fluff out the pillow and you're done!
Notes
Make sure that your fabric is washed before sewing so when you wash your pillow you won't have any unwanted shrinkage.
I suggest washing on cold and either laying out to dry or putting in the dryer on low heat.
Comment down below if you plan on or already have made a pillow insert for your home.